From that moment onwards: Project 2 Visual Skills
Some thoughts on the exercises
The ‘rules’ (point, line, frame) exercises prompted me to research and gain a deeper understanding of the elements of composition.
It took me a while to understand some of the argumentation from John Berger – ‘Composition in the profound, formative sense of the word cannot enter into photography’ (Ways of Seeing), its juxtaposition to classical art-its rules of composition, how it impacts or impacted photographic thinking- and maybe still does. I found the following video ‘Is the Rule of Thirds all That It’s Cracked Up to Be?’ (https://nofilmschool.com/2016/03/rule-thirds-really-all-its-cracked-be) an informative source about different tools and techniques for composition and how they can help plan your shots or even ‘see’ the world differently. Additionally, I delved into Gestalt theory and its application to photographic practice.
Exercise 1.2 Point
Take three or four photographs in which a single point is placed in different parts of the frame. When composing the shots use these three rules: the place of the point shouldn’t be too obvious (such as right in the middle), the composition should hold tension and be balanced (the golden section or rule of thirds) and the point should be easy to see. Evaluate the shots according to these rules and select which one you think works best.
Then take a few more shots without any rules, just being aware of the relationship of the point to the frame. Without the rules, how can you evaluate the shots? That will be a key question throughout the whole degree programme.
Add the photographs to your learning log together with brief observations.
‘…a photograph is simply a collection of points…the next thing to be quite clear about is that every point in the picture is determined by various factors. One of the factors that determine the position of the point in a picture will be the position of the corresponding point in the object, that is to say, that every photographic picture is made up of points which correspond to points outside the camera when the exposure was made (J Bridges Lee M.A. The Photographic Journal June 1900) ‘
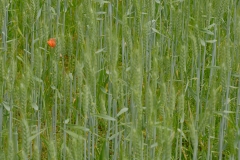
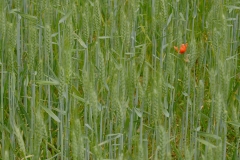
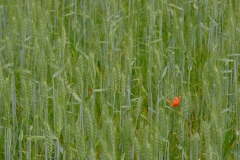
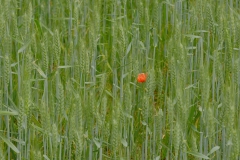
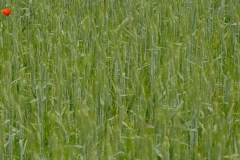
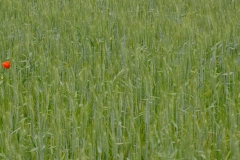
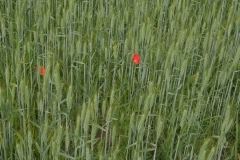
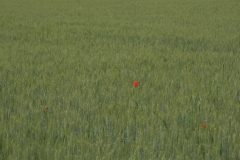
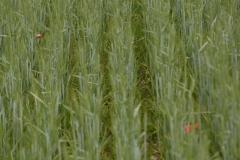
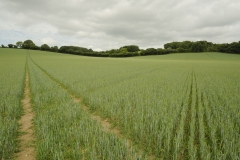
In the photos below, the lone poppy in the field of wheat makes a perfect subject for this exercise.
A couple of things struck me when I took these photos, the lone (and red) poppy in the field of green is accentuated and one’s eye is drawn immediately to it, however, the poppy also highlights the vastness of the field, both draw attention to each other. The positioning of the poppy works best in the third photo, the poppy is far enough from the frame to feel balanced. Playing with the positioning I did find the rule of thirds a handy guide rather than a fast rule- In one shot I place the poppy just right of center (Point_4)- and it worked for me.
Then take a few more shots without any rules, just being aware of the relationship of the point to the frame. Without the rules, how can you evaluate the shots? That will be a key question throughout the whole degree programme.
In general, I found the rules of thirds and other compositional techniques useful for evaluating my shots but after the fact for some of them. Depending on the situation and intent, consulting the rule of thirds of other compositional considerations would not always be practical but their usefulness is given in evaluating (and in certain circumstances) setting up a shot or a composition. I found the relationship between points -creating an optical line or creating shapes (triangle) (without_rules_3) a useful guide for creating interest and how it pulls the eye from point to point.
In the photo ‘Without_rules_5’ I used both line and point-I asked 4 people what they saw first and it was an even split between the line and the poppy. I have sometimes wondered why people react to, or find a specific photo interesting-for sure, compositional ‘rules’ may have a bearing on this, but its something that I’m keen to understand in more depth and holistic manner.
Exercise 1.3 Line
Take a number of shots using lines to create a sense of depth. Shooting with a wide-angle lens (zooming out) strengthens a diagonal line by giving it more length within the frame.
The effect is dramatically accentuated if you choose a viewpoint close to the line.
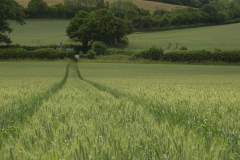
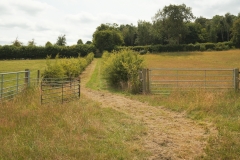
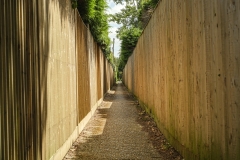
When using ‘line’ as a compositional aid a few things came to mind; it helps if the line leads the eye to a ‘destination’, I found it was very easy to create photos with just a beginning and end i.e. the line leads to a destination (see photos line_1 & line_3), so I experimented with trying to have a beginning, a middle and an end (see photos Line_2 & Line_7)-these gave the photos more depth and interest.
Now take a number of shots using lines to flatten the pictorial space. To avoid the effects of perspective, the sensor/film plane should be parallel to the subject and you may like to try a high viewpoint (i.e. looking down). Modern architecture offers strong lines and dynamic diagonals, and zooming in can help to create simpler more abstract compositions.
Review your shots from both parts of Exercise 1.3. How do the different lines relate to the frame? There’s an important difference from the point exercises: a line can leave the frame. For perpendicular lines this doesn’t seem to disrupt the composition too much, but for perspective lines the eye travels quickly along the diagonal and straight out of the picture. It feels uncomfortable because the eye seems to have no way back into the picture except the point that it started from. So another ‘rule’ of photography is that ‘leading lines’ should lead somewhere within the frame.
I struggled initially to get my head around this concept-the words ‘flatten the pictorial space’ didn’t click, but once I understood it I found plenty of scope for creative experimentation. I learned a few things including the type of lenses used-if I used a telephoto lens-say 200mm it flattens the perspective quite easily (see photo Flat_Pictorial_Space_2), however when using wide-angle lenses I had to get some distance between myself and the subject and keep the camera parallel to the subject (see photo Flat_Pictorial_Space_5).-
Exercise 1.4 Frame
The final exercise of this project makes use of the viewfinder grid display of a digital camera. This function projects a grid onto the viewfinder screen to help align vertical and horizontal lines, such as the horizon or the edge of a building, with the edge of the frame. Please check your camera manual (or Google search) for how to display the grid in your viewfinder. If your camera doesn’t have a grid display, just imagine a simple division of the viewfinder into four sections. Take a good number of shots, composing each shot within a single section of the viewfinder grid. Don’t bother about the rest of the frame! Use any combination of grid section, subject and viewpoint you choose.
When you review the shots evaluate the whole frame not just the part you’ve composed. Looking at a frame calmly and without hurry may eventually reveal a visual coalescence, a ‘gestalt’.
The whole exists independently from the component parts
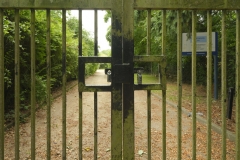
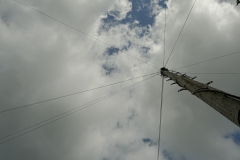
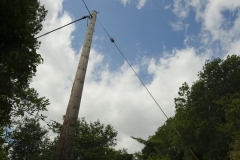
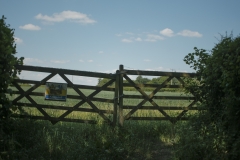
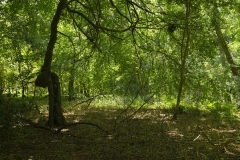
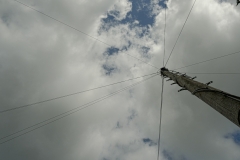
I was intrigued by this exercise and some research into Gestalt theory introduced me to a holistic approach to composition and the idea that the scene as a whole is greater than the sum of its parts. According to Gestalt theory, there are principles of visual perception that explain how the brain makes sense of visual images -these include the gestalt law of proximity, similarity, continuity, closure, continuance, and common fate. The central principle of Gestalt psychology is that the human mind forms a holistic whole by recognizing patterns and similar elements. It was interesting (and challenging) applying the ‘laws’ to my photos and trying to identify them. In photo Grid_9 I identify the law of continuance-the wires radiating from the poll are cut off by the frame but one’s mind perceives it as something continuous, fills in the gaps, and determines a relationship between the elements. The same applies to the photos Grid_5 and Grid_7.
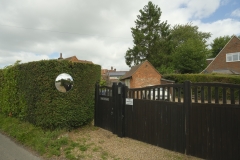
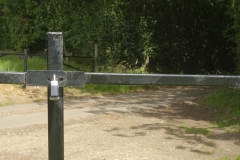
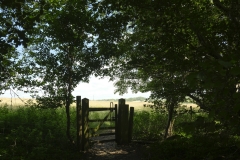
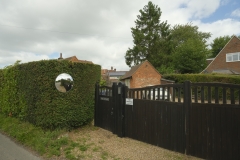
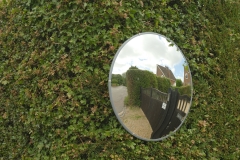
In photo Grid_7, the figure-ground relationship (important in Gestalt theory) is achieved as the black metal parts of the gate are in focus, have a relatively strong contrast to the background which is slightly blurred; in photo Grid_4 the contrast of the mirror against the hedge also achieves a strong figure relationship.
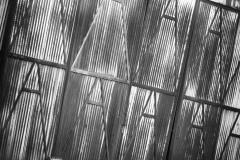
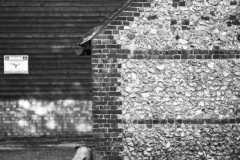
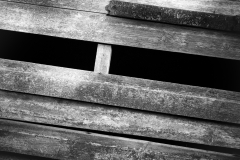
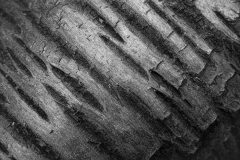
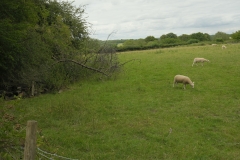
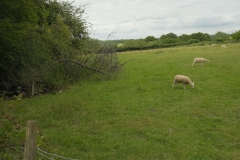
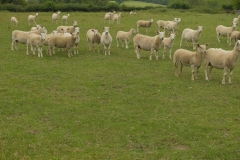
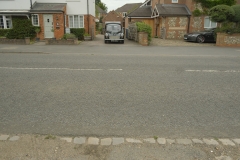
I arranged the photos in a the 3×3 grid and along the diagonal lines each photo has a line theme. In general, the set works although I have doubts about photos grid_2 and Grid_6.


